
Recording
Record a screen, region or window with separate camera and audio tracks, then edit the take in Studio.
Your first recording
Use Recorder mode when you want to edit before exporting. Choose Screenshot for a still image or Instant for a video that exports as soon as you stop.
Select Recorder
Open Beam and choose the Recorder tab.
Choose a source
Choose Full screen, Region or Window, then select the display, area or application.
Check your devices
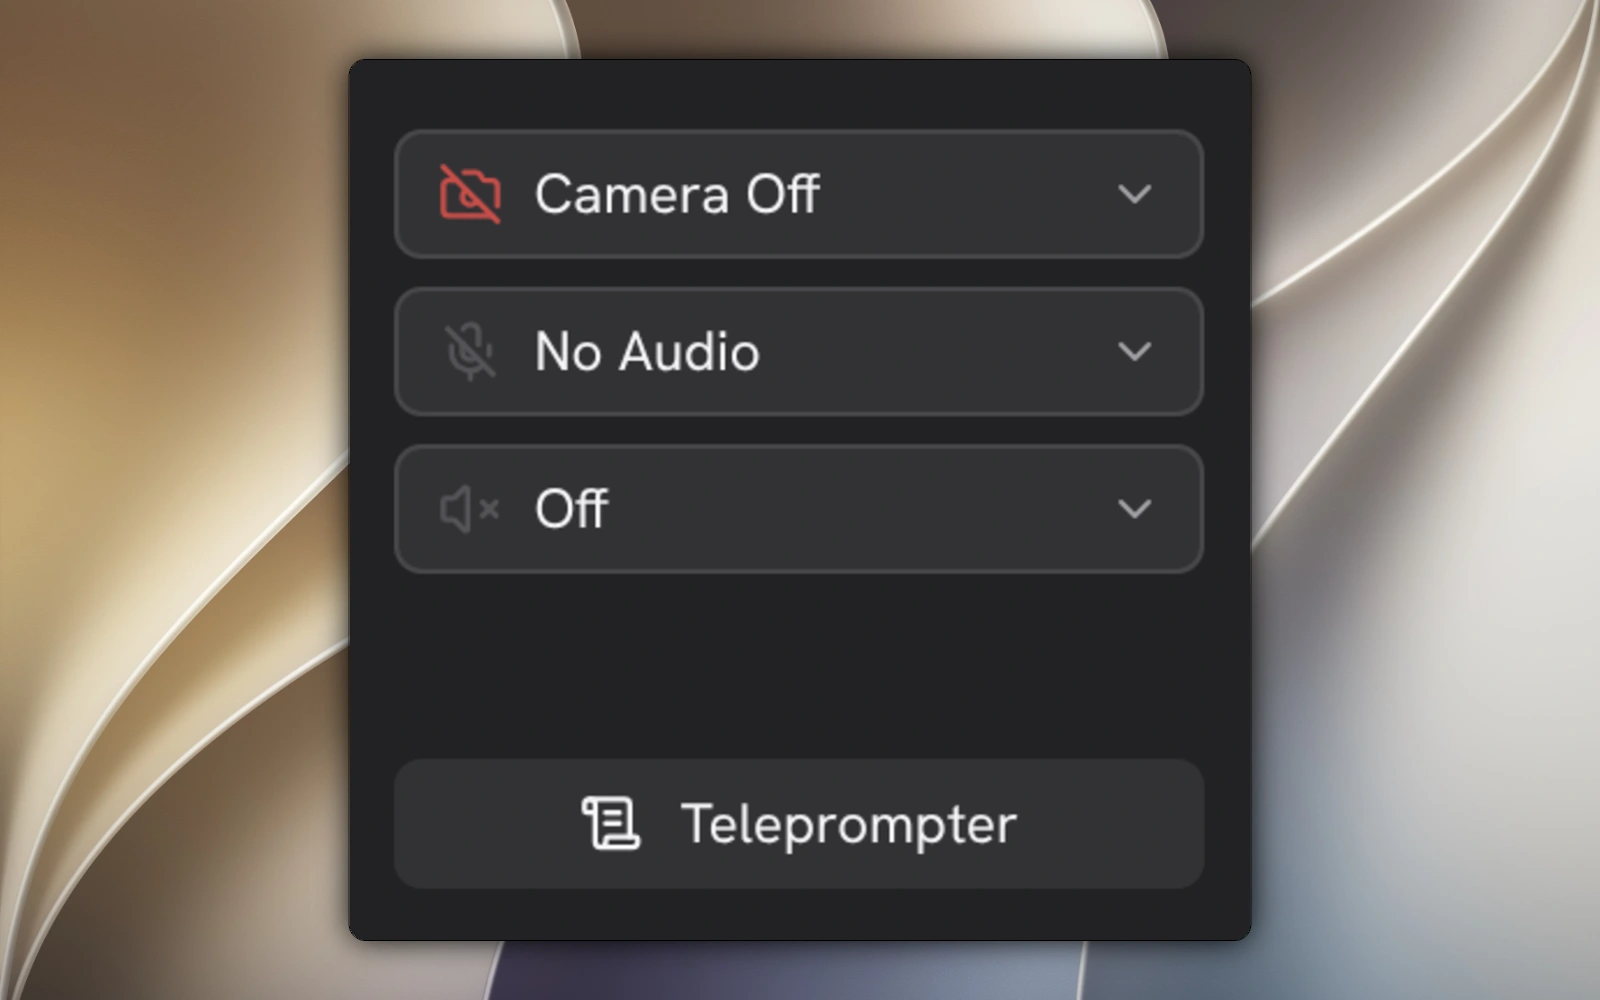
Enable the camera, microphone and system audio you need. Check the microphone meter and grant any requested device access.
Start your take
Choose Start Recording. Wait for the countdown, or cancel it to adjust your setup.
Stop and edit
Stop the take and wait for Beam to finish saving it. Studio opens the recording as an editable project.
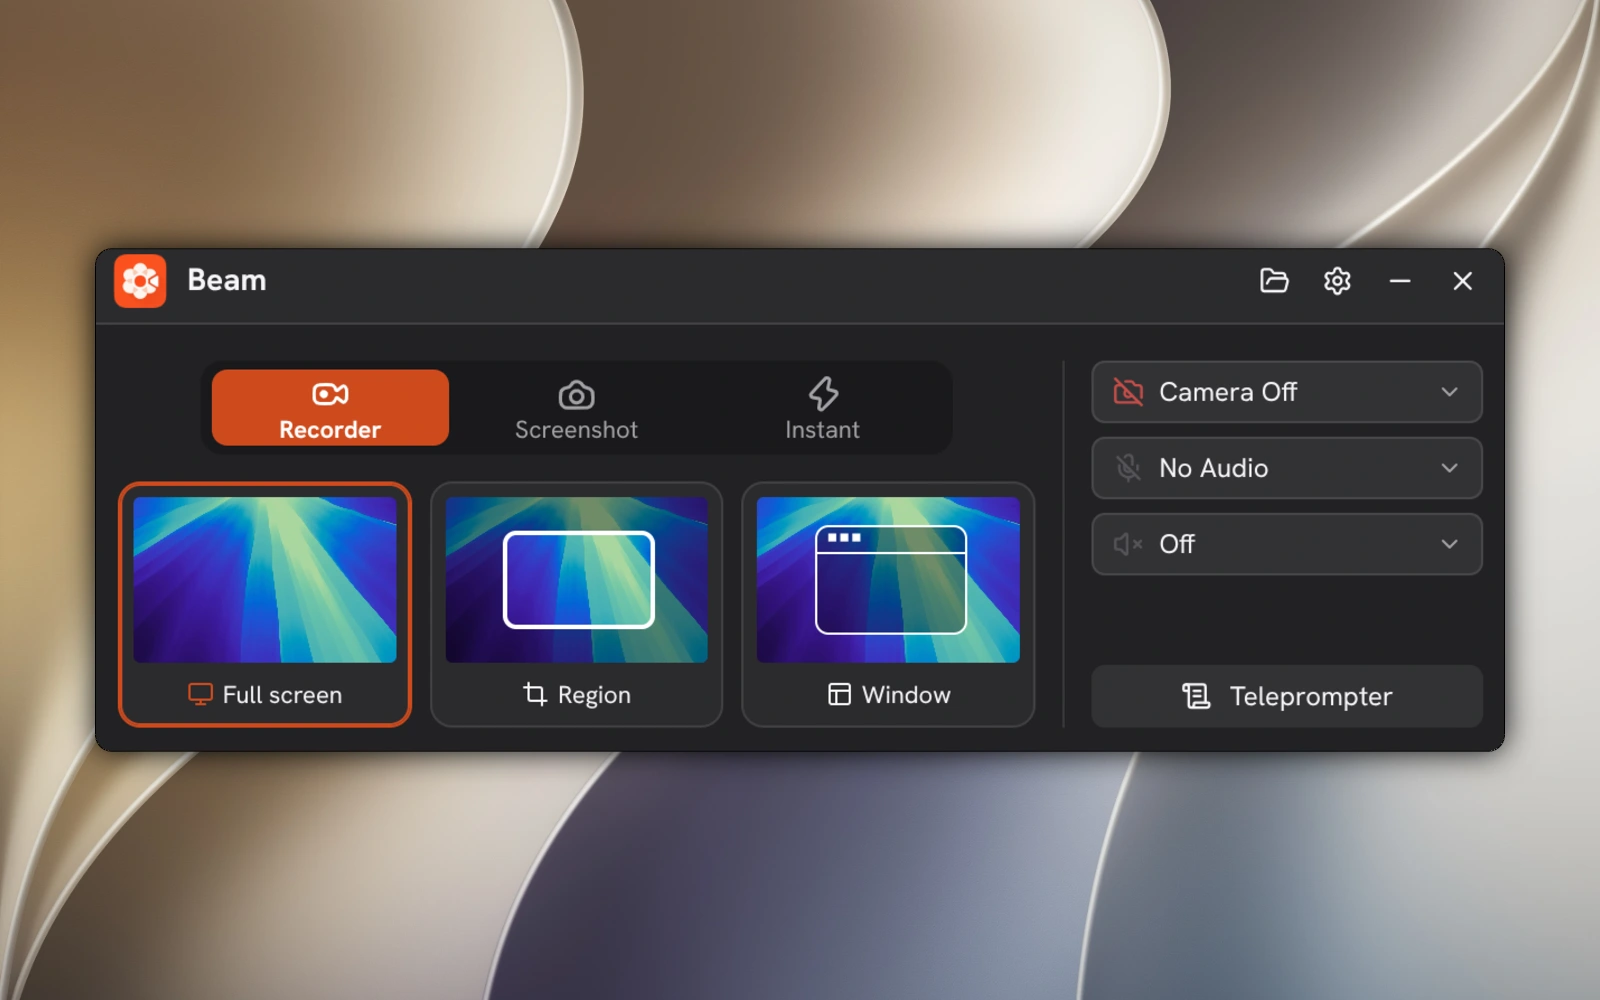
Full screen, region or window
The region selector shows a magnifier and live pixel dimensions. On Linux, authorize the source in the desktop portal when capture starts. For Region, select the same monitor you used to draw the area; a window source cannot supply a monitor crop.
| Source | Use it for |
|---|---|
| Full screen | A workflow that moves between apps or needs the whole display. |
| Region | One area of a display. Draw a rectangle or use a size preset, then check its dimensions. |
| Window | One application window. On Windows and macOS, find it in Beam’s searchable source picker. |
Camera, microphone and computer sound
Camera, microphone and system audio are independent sources. Studio keeps the captured camera and audio tracks separate from the screen, so you can change their placement or volume afterward. Select the sources you need before starting.
Use headphones to keep speaker sound out of your microphone. If a device is missing or disconnected, choose another source and retry after resolving the issue Beam reports.
- Use the recording controls to turn the microphone or camera on and off when the current recording phase allows it.
- Toggle system audio during recording on supported platforms.
 Windows
- macOS
 Linux
Linux
- Allow screen, camera and microphone access when your operating system requests it.

During a take
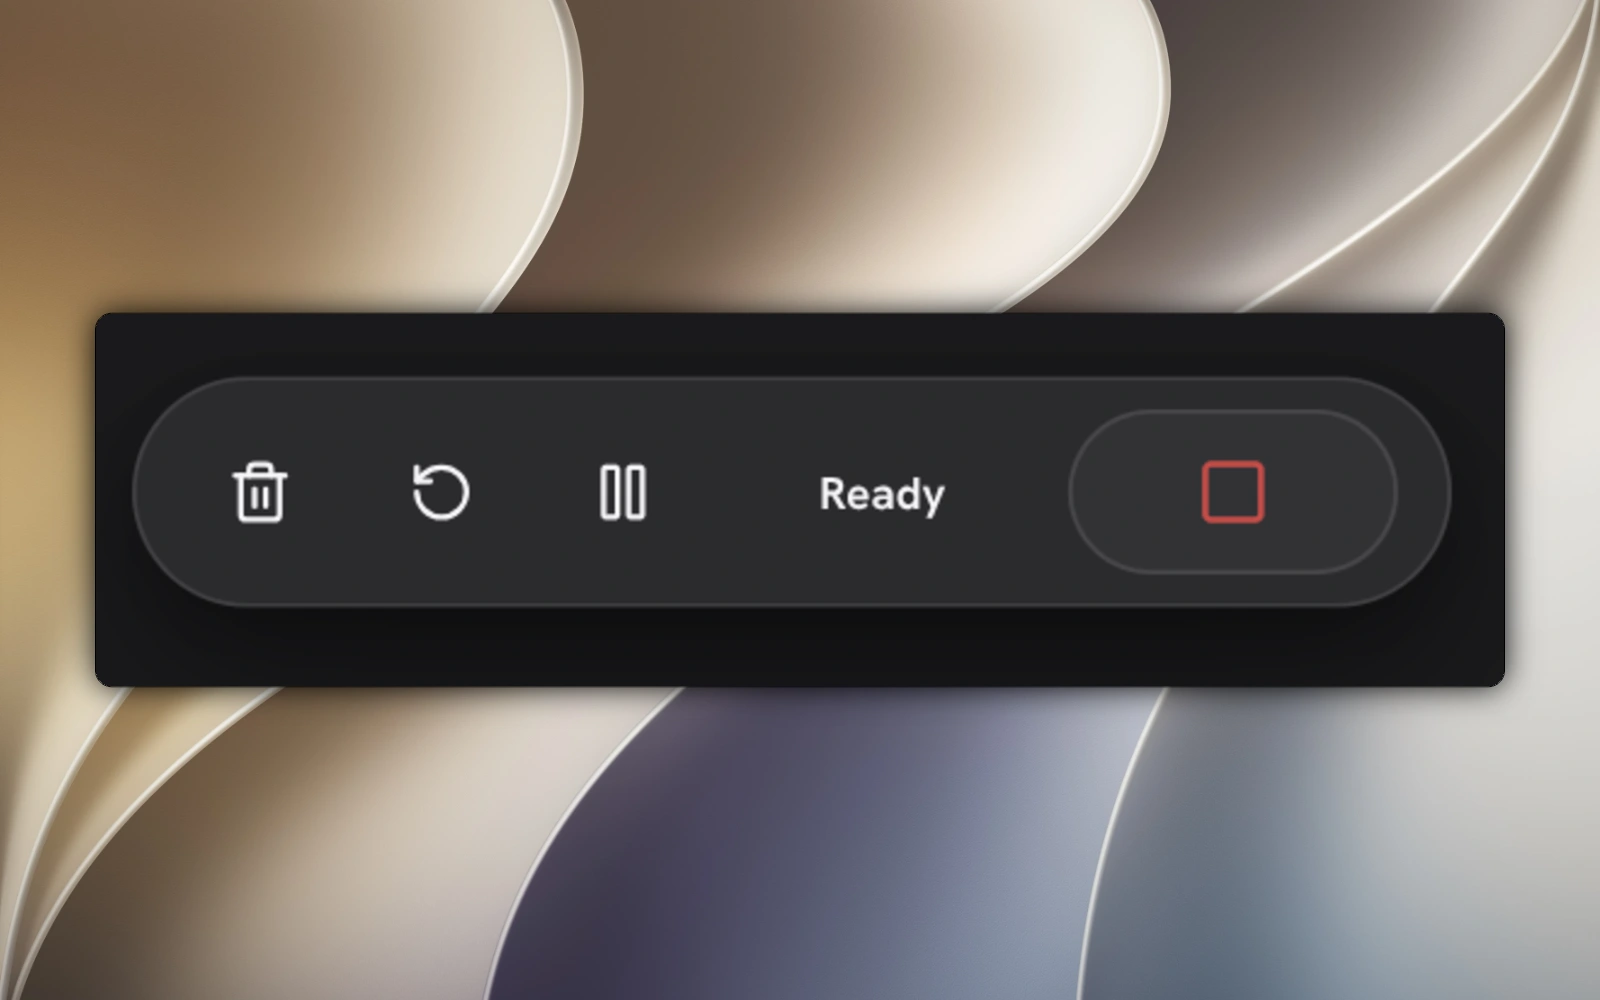
Drag the recording bar to a convenient position. In Settings → Recording, choose Always visible, Auto-fade or Hidden until hovered. Controls can be unavailable while Beam prepares or finishes a capture.
| Control | What happens |
|---|---|
| Pause / Resume | Pause, then continue the same take. |
| Stop | Finish saving the recording and open it for editing. |
| Restart | Discard this take and start again with the same setup, without a second countdown. |
| Delete / Cancel | Discard the current unfinished take. |
Prepare the next take
- Countdown: choose Off or a delay of 1–10 seconds in Settings → Recording.
- Automatic zoom: choose Off, 2D, 3D or Loupe in the capture controls. Click-based generation needs recorded interaction data; the result remains editable in Studio.
- Real cursor: records the system pointer into the video. Beam initially disables its separate custom cursor overlay for these takes, avoiding a second pointer.
- Desktop visibility: hide desktop icons and the taskbar or Dock during capture on supported systems.
- Windows
- macOS
- Linux
- Teleprompter: open your script and adjust scrolling speed, text size, color and window transparency.
Reopen a take and set your shortcuts
Open Projects to find, preview, rename or reopen a take. Choose Explore in its project menu before backing it up, and copy the complete directory so the camera, sound, cursor data and edits stay together.
These are the default bindings. Change them in Settings → Keyboard Shortcuts. Another application or the desktop session can prevent a global shortcut from registering.
| Default shortcut | Action |
|---|---|
| Alt + Shift + R | Start / stop recording |
| Alt + Shift + P | Pause / resume |
| Alt + Shift + M | Toggle microphone |
| Alt + Shift + C | Toggle camera |
| Alt + Shift + T | Show / hide teleprompter |