
Screenshots
Capture a screen, arrange and annotate its layers, then copy an image or save PNG or WebP.
Start with a screenshot
Still capture does not include the camera or teleprompter. On Linux, the desktop portal handles source authorization. You can choose a Screenshot preset before capture to reuse a saved look.
Choose Screenshot
Choose Screenshot in the Recorder or Quick Snip controls.
Choose the subject
Select Full screen, Region or Window and confirm the desktop picker if it appears.
Take the capture
Take the capture to open Screenshot Editor. Cancelling source selection returns to setup without creating a project.
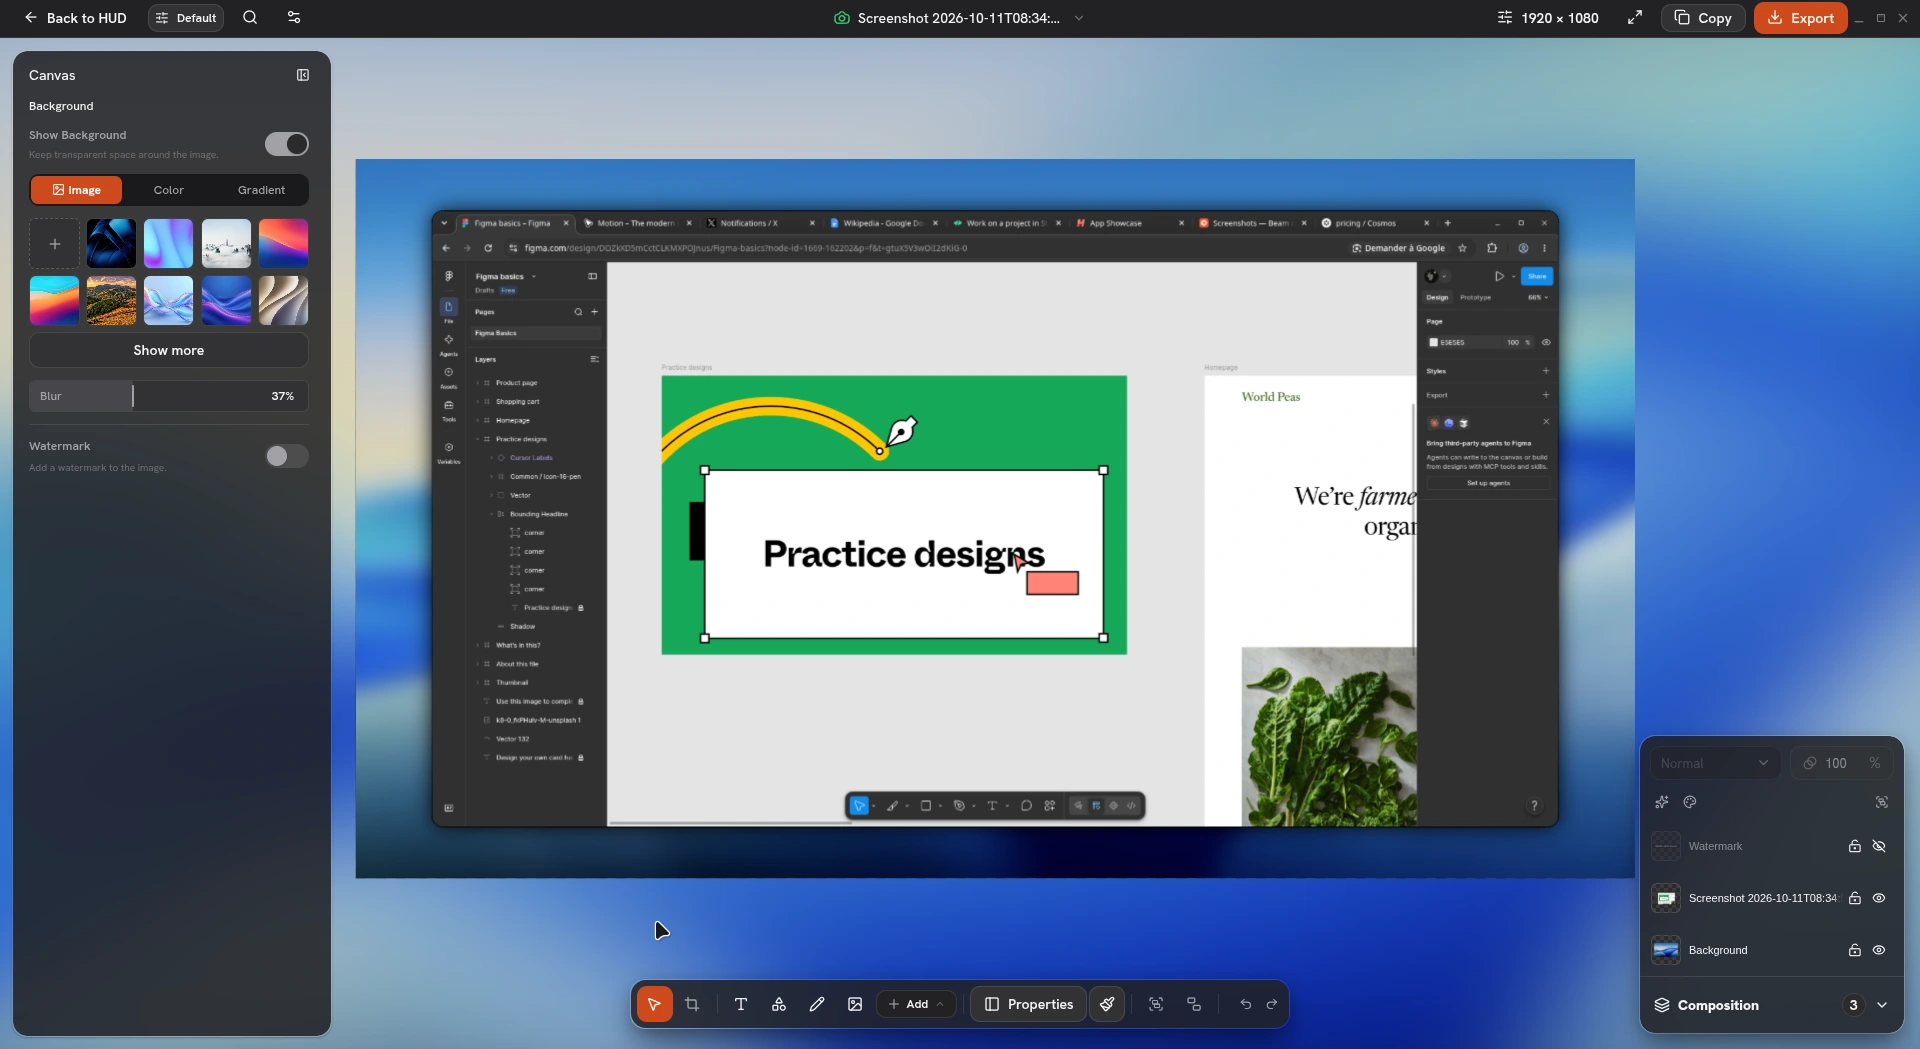
Crop and style the image
Crop the source, set the canvas dimensions, then adjust the background, padding, corners, frame and shadow. Select a layer to change its position, size or angle. Use the alignment controls and aspect-ratio lock for precise placement.
Import or paste another image to add a layer. The Composition panel lets you select, rename, reorder, hide and lock layers. Opacity and blending affect the selected layer.
- Rename a layer from its title or in Composition. F2 is the default rename shortcut.
- Undo or redo an edit as you work. Saved Screenshot projects retain their composition and history.
- Keep imported media with the project so its layers can still load when you reopen it.
Arrange several layers together
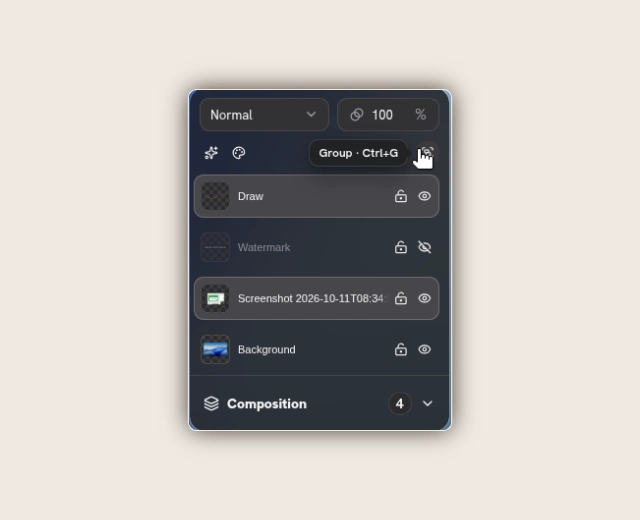
Ctrl/Cmd-click to select more than one layer. You can also drag a selection rectangle from empty canvas or workspace, or use right-button dragging. Placement controls move, align, resize or rotate compatible selected layers together.
- Group with Ctrl/Cmd + G and ungroup with Ctrl/Cmd + Shift + G by default. A group keeps shared bounds for moving and resizing; native text and cursor sizes scale within their supported limits.
- Use alignment guides to check spacing and dimensions in canvas pixels. Hold Alt to bypass snapping with the default gesture binding.
- On supported content layers, X/Y rotation and perspective add a 3D angle. Backgrounds, watermarks and zooms cannot join a group. Unlock protected members before changing them.
Adjust color and apply effects
Select a content layer in Composition. Use Color for adjustments or Monochrome. Effects offers Gradient, Dithering, ASCII, Grain and Cyanotype. Select a nested effect row to change its settings, or use its visibility control to compare with the original.
- Color adjustments include hue, saturation, brightness, contrast, monochrome, sepia and inversion. The original source is preserved; disable or undo the effect to remove it.
- Gradient offers Mesh, Flow and Silk, with Aurora, Ember, Bloom, Tide, Nocturne and Sunrise presets. Adjust its palette, geometry, lighting and grain. Dithering and the artistic effects have their own controls.
- Each content layer supports up to four effects, applied in order and following its transparent edges. Effect opacity blends that effect; layer opacity and blending affect the full result. Blur/highlight regions and zoom layers do not accept these effect stacks.
Add annotations and close-ups
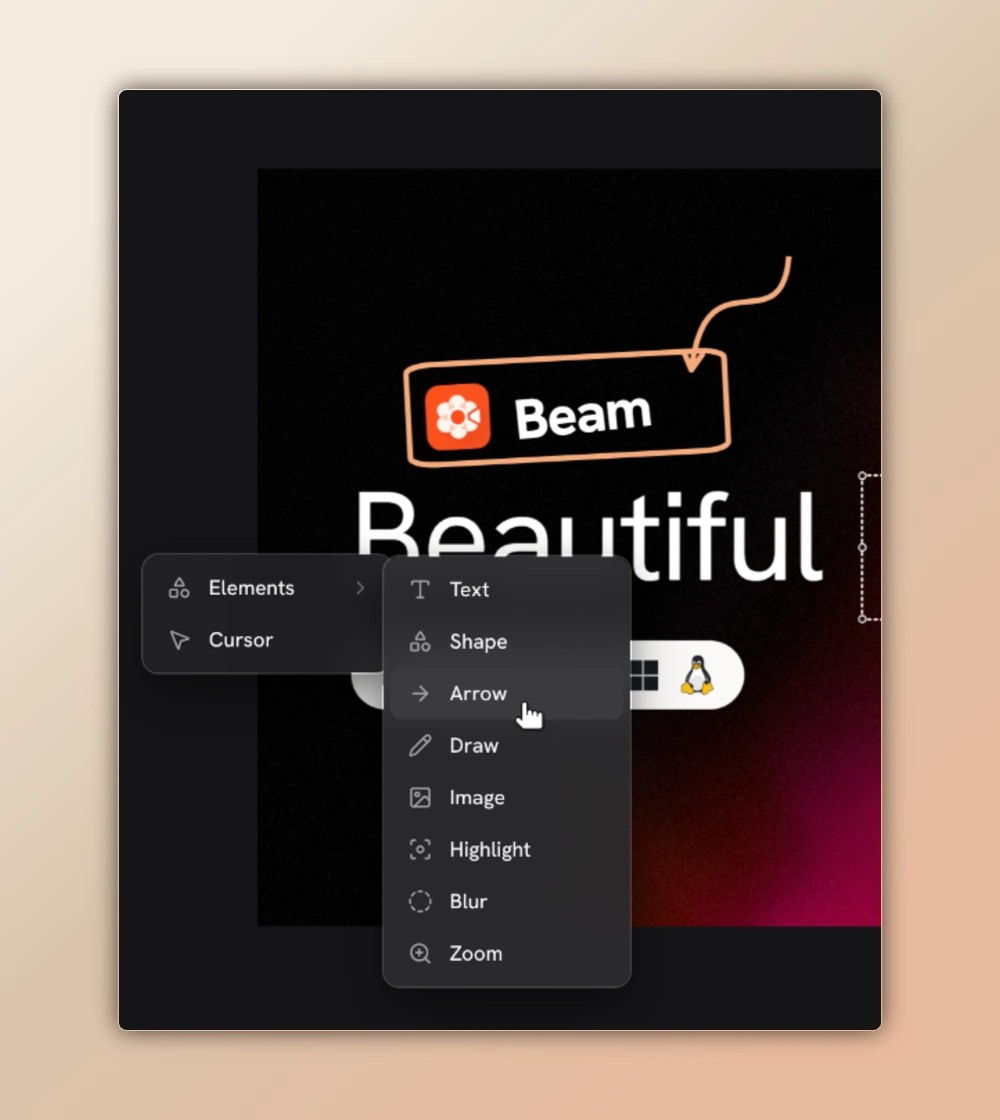
- Use arrows, shapes, text and freehand strokes to explain the image. Adjust their fills, borders and drawing properties.
- Add blur, pixelation or highlight regions, then position and resize them over the relevant area.
- Add a manual 2D or 3D zoom, or use a circular or freehand Loupe to magnify one detail.
- Place a styled static cursor, or configure the canvas watermark.
Copy or export
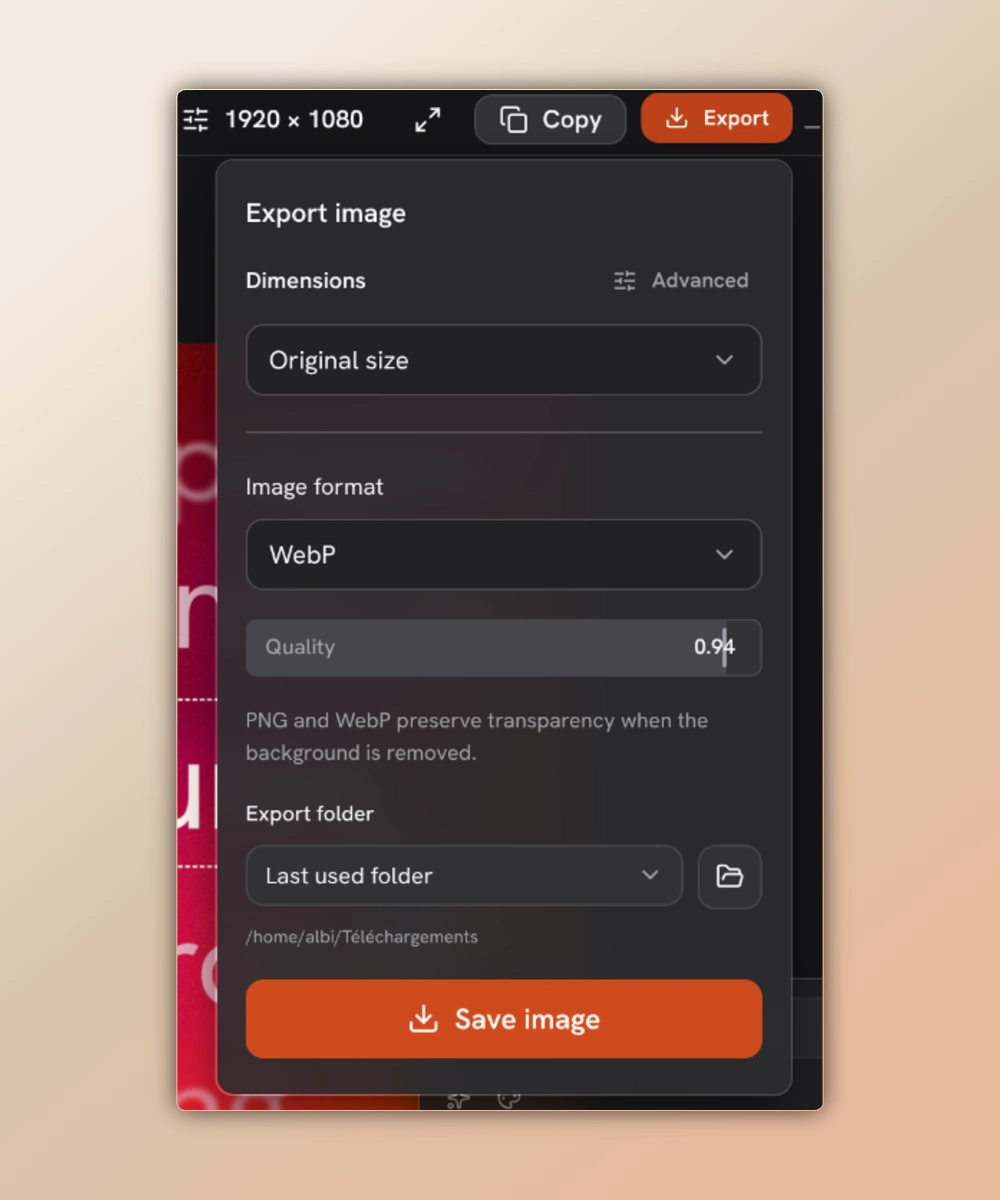
Both actions render the visible composition. The editable project stays available for later changes. To export transparent areas, remove the canvas background.
Finish the edit
Review the full image at a readable size, including annotations, effects and areas you meant to obscure.
Copy as an image
Choose Copy to place the rendered PNG on the clipboard, then paste into an app that accepts images.
Save a file
Open Export, enter a filename, choose PNG or WebP and select the export folder in Beam. Use Save image; confirm replacement if that file already exists.
Set up a CLI screenshot
Use beam-cli from an installed build, or bun run beam from the root of a source checkout. Native capture requires Beam’s capture executable, a graphical desktop session and screen-capture access. Save the example as capture-config.json to select a Linux monitor through the portal.
On macOS or Windows, use a screen object with mode set to source and sourceId taken from capture discover. Linux may still show an interactive portal picker. To crop a display, region takes normalized x, y, width and height values between zero and one that fit within the display.
{
  "screen": {
    "mode": "portal",
    "kind": "monitor",
    "restoreToken": null
  },
  "region": null
}Capture a PNG from the terminal
Check capabilities and discover sources, then run screenshot with your configuration and output path. It writes a lossless PNG and refuses to replace an existing destination unless you add --overwrite.
The PNG contains the raw capture. To style it, create a standalone image document or open a Screenshot project and use the live agent tools. The AI native guide covers both workflows.
beam-cli capture capabilities
beam-cli capture discover
beam-cli screenshot capture-config.json capture.pngCapture from Quick Snip
Open Quick Snip from the tray or with Alt + Shift + S by default. Choose Screenshot and its capture action: open the editor to make changes, or use the configured direct-copy action for an image that is ready to paste.