
Zooms & lenses
Place a close-up, add perspective or magnify one detail with a lens. Set the focus and timing yourself or start from recorded clicks.
Choose what moves
Open Zooms in Studio and select a zoom block to edit it. You can change the style without replacing the block, then adjust its timing and focus.
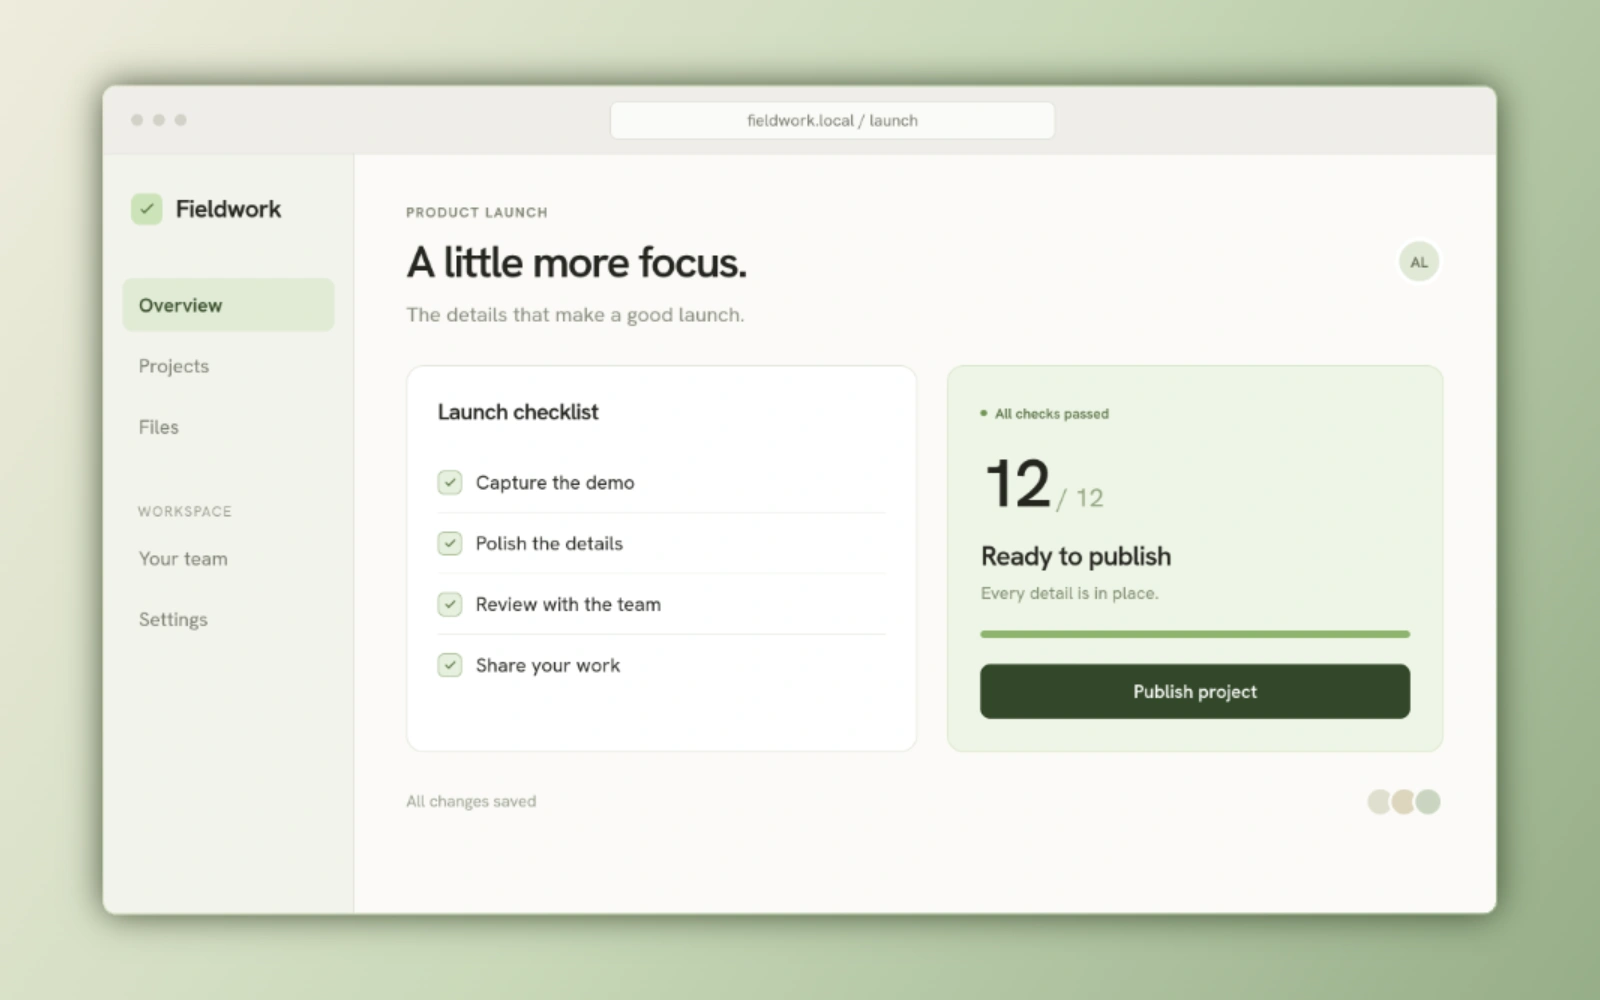
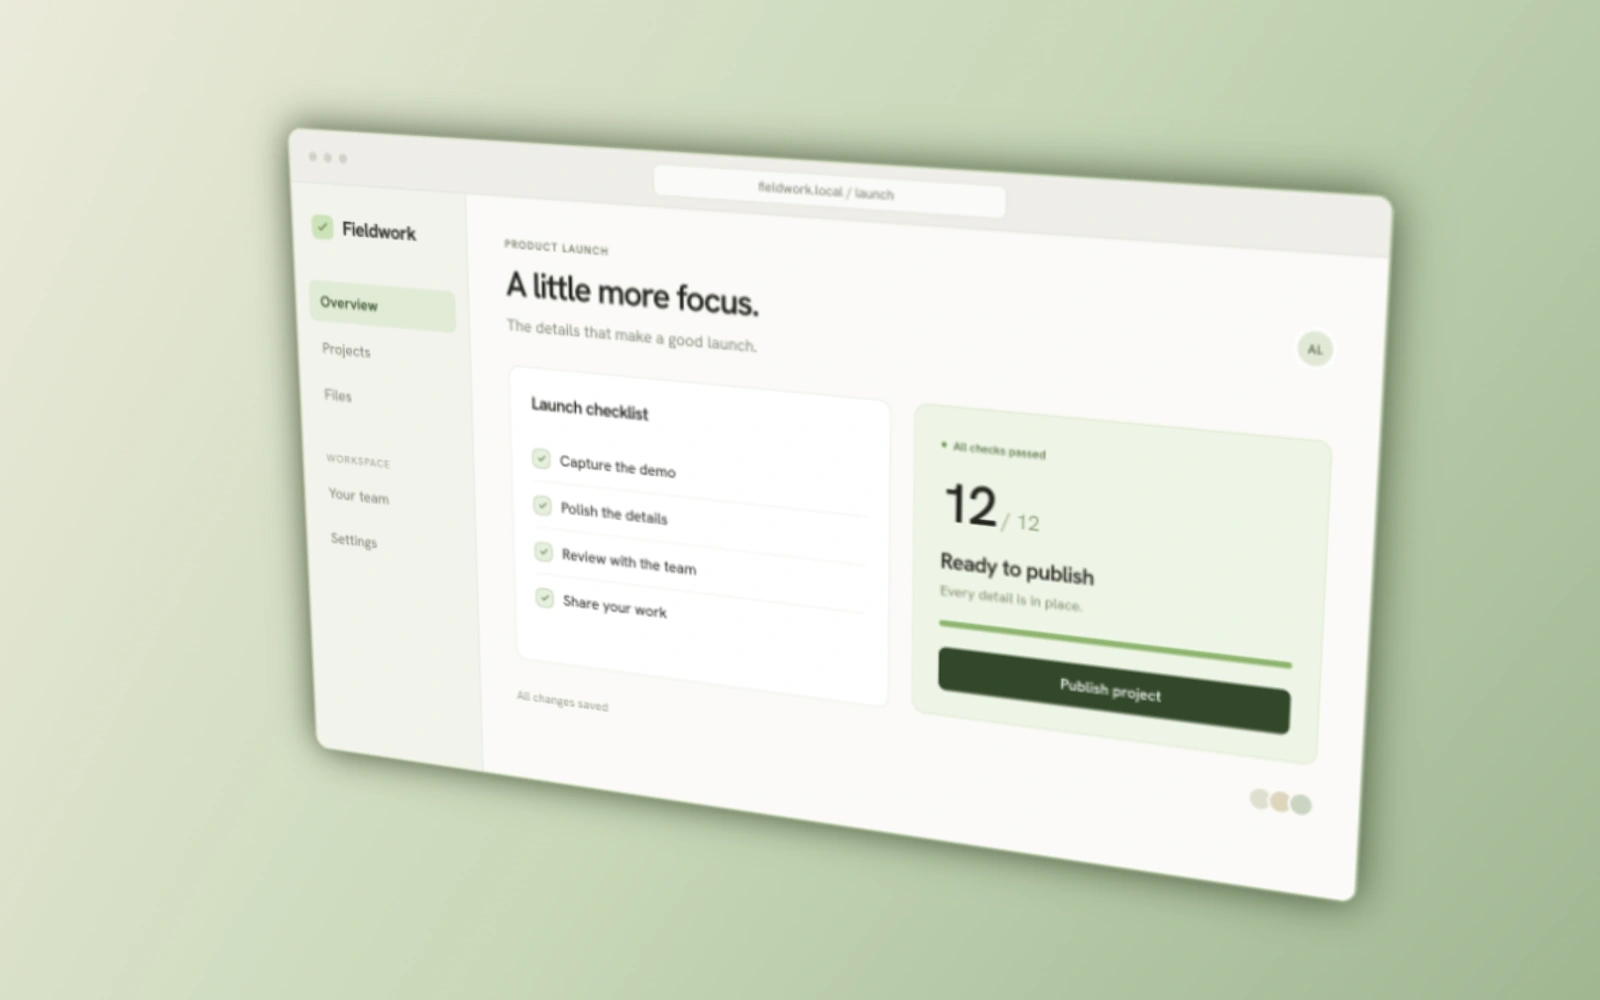
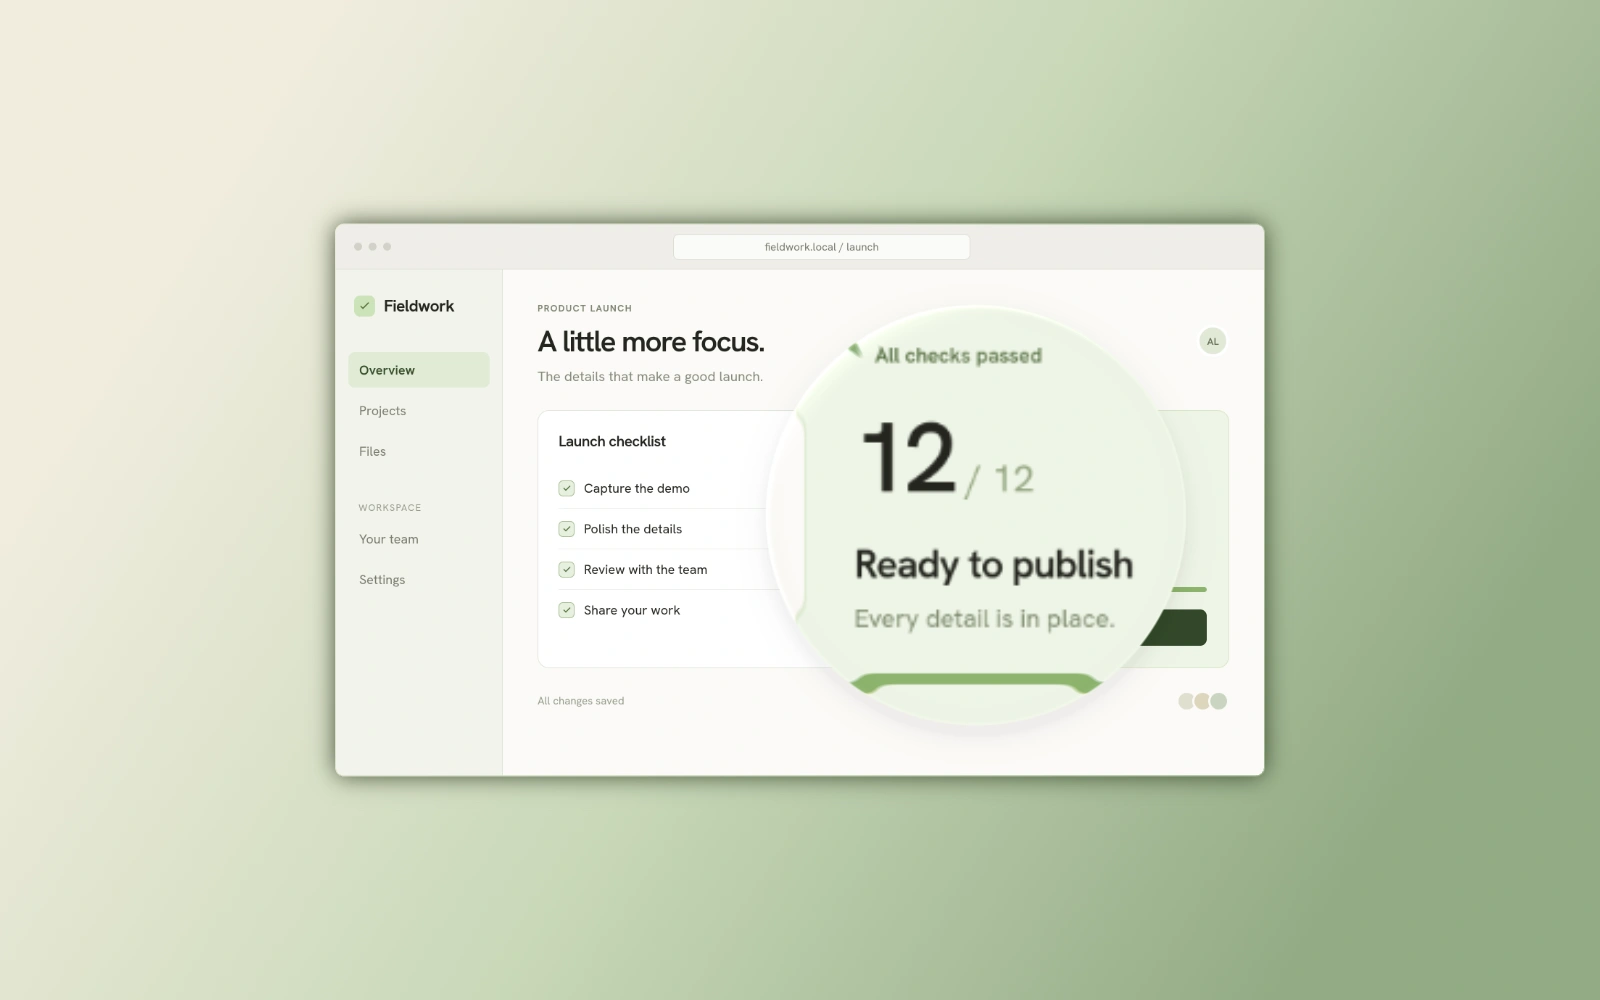
The examples below are static Screenshot compositions of the same HTML checklist, rendered with Beam’s native zooms. Studio adds timed entry and exit on the timeline.
| Zoom style | Effect | Use it for |
|---|---|---|
| 2D | Magnifies and pans the whole composition, keeping a flat perspective. | Make a control or piece of text easier to read. |
| 3D Tilt | Magnifies the whole composition with an adjustable perspective angle. | Give a close-up a directional camera move. |
| Loupe | Magnifies the area inside a glass lens while the surrounding scene stays in place. | Show a detail without losing the wider context. |
Place a manual zoom
A manual zoom starts centered in 2D at 1.5× for 1.2 seconds unless your preset overrides it. Beam fits the block into the available gap; it needs at least 200 ms and cannot overlap another zoom.
Add the block
Click an empty part of the Zoom track, or use Add → Elements → Zoom at the playhead.
Select its style
Select the block and choose 2D, 3D Tilt or Loupe in the inspector.
Place the focus
For a camera zoom, choose Manual Focus and drag the target or enter X and Y. For Loupe, place the lens or draw its contour.
Set its interval
Move the block and trim its edges, then preview its entry, focused interval and exit.
Set the perspective angle
Choose 3D Tilt, then a directional preset: Tilt back, Tilt front, Tilt left, Tilt right, Pull back or Pull front. Choose Custom for the advanced controls. Adjusting the angle or intensity also switches the preset to Custom.
| Advanced setting | Range | Effect |
|---|---|---|
| Tilt intensity | 0%–100% | Controls perspective strength. Directional presets use 60%. |
| Left / Right | −100% to +100% | Controls the horizontal tilt direction and amount. |
| Up / Down | −100% to +100% | Controls the vertical tilt direction and amount. |
Place a circular or freehand lens
A new circular lens has a diameter of 60% of the shorter canvas side. The supported range is 2%–400%. Changing units changes the displayed value, not the lens size. Moving a loupe does not pan the surrounding composition.
Choose Loupe
Select a block and choose Loupe. It magnifies the composition only inside its boundary.
Select its shape
Choose Circle, or choose Freehand and draw a closed contour on the canvas. Escape cancels drawing.
Move or resize it
Drag the lens and its handles, or enter X, Y and Diameter. Display diameter in pixels or as a percentage of the shorter canvas side.
Redraw when needed
Use Redraw selection for a new freehand contour. The lens needs a valid closed shape before it can render.
Choose a fixed point or follow the cursor
Beam constrains camera focus to keep the magnified composition framed. Imported videos do not include Beam cursor telemetry: use Manual Focus when no recorded pointer path is available.
| Placement | Behavior |
|---|---|
| Manual Focus | Keeps the focus on the point you place. X/Y fields use canvas pixels when dimensions are known. |
| Auto (Cursor) | Follows the cursor path saved with the recording during the camera zoom. |
| Loupe placement | Uses a manually placed lens. Generated loupes remain movable and resizable. |
Set the magnification
Choose a magnification button or set Zoom Level from 1 to 6. The same levels apply to camera zooms and loupes. Switching a block to Loupe for the first time starts at level 4, or 2.2×.
| Zoom level | Magnification |
|---|---|
| 1 | 1.25× |
| 2 | 1.5× |
| 3 | 1.8× |
| 4 | 2.2× |
| 5 | 3.5× |
| 6 | 5× |
Adjust the glass
Refraction bends content near the edge. Bevel and rim lighting define the glass boundary; color dispersion separates edge colors. Shadow and opacity control how strongly the lens stands out. Reset appearance restores these values while keeping its shape, size, contour and fade timing.
| Setting | Range | Default |
|---|---|---|
| Refraction | 0%–100% | 18% |
| Bevel width | 2%–50% | 12% |
| Rim lighting | 0%–100% | 28% |
| Color dispersion | 0%–100% | 2.5% |
| Shadow | 0%–100% | 15% |
| Opacity | 0%–100% | 100% |
Make cursor following calmer or quicker
Camera follow applies across the composition to automatic camera zooms. The safe zone lets the cursor move before the camera follows. Choose Stable, Balanced or Responsive, then open Advanced to fine-tune it.
- Safe zone: 25%–75%. A larger zone lets the cursor move farther before reframing.
- Responsiveness: 0%–100%. Higher values make the camera catch up faster.
- Straight paths: enabled in all three presets. It holds each target while the camera travels, avoiding constant changes of direction.
| Preset | Safe zone | Responsiveness |
|---|---|---|
| Stable | 65% | 30% |
| Balanced (default) | 50% | 55% |
| Responsive | 35% | 85% |
Set lens fades and camera motion blur
Fade duration controls a video loupe’s entry and exit. Each fade is capped at half the block’s duration. Camera motion blur affects movement of the full scene. Camera follow and camera motion blur are hidden while editing a loupe, because the lens does not move the whole composition.
| Control | Scope | Values |
|---|---|---|
| Loupe Fade duration | Each video lens | 0–1000 ms, in 10 ms steps; default 250 ms. |
| Zoom motion blur | Global camera movement | On by default, with 55% intensity; adjustable from 0% to 100%. |
Generate zooms from recorded clicks
Camera zooms use recorded interactions for timing and focus. Generated loupes group nearby clicks and choose a readable size and magnification. Their placement remains manual and editable after generation.
Check the recording data
Use a Beam recording with saved cursor and click data. Without usable clicks, automatic generation is unavailable; you can still add manual zooms.
Choose a style
Choose 2D, 3D Tilt or Loupe before generating. With a block selected, generation uses that block’s style.
Generate and review
Open Automatic generation, choose Generate Auto Zooms or Regenerate Auto Zooms and confirm. Play the result, then adjust the blocks that need attention.
Use the same styles in a screenshot
In Screenshot Editor, add a zoom from Elements and set its focus, magnification, perspective or lens contour. These are static effects: still documents have no timeline, automatic generation, animated cursor following or lens fades.